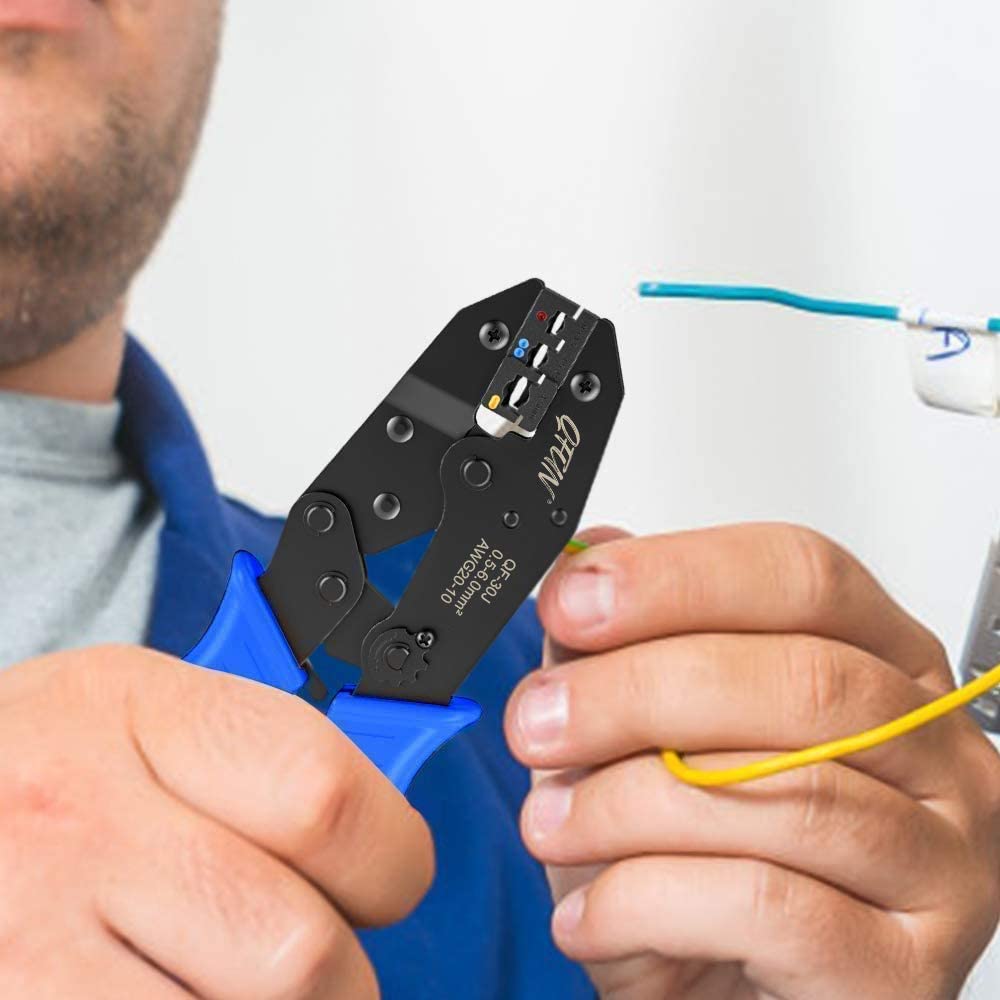
A crimp tool is a device that is used to join components or materials by creating a crimp or a seal. Actually, one of the most common uses of a wire crimp tool is to attach connectors to the ends of different electrical cables.
It is important to note that many crimping tools have a variety of functions. For instance, they have compression available together with stripping, cutting, and bending among other similar functions. A crimp tool is created for working with a particular wire, cable, gauge, or even a pipe size.
Categories of Crimp Tools
When it comes to crimping tools, there are different types available. Some of them are as follow:
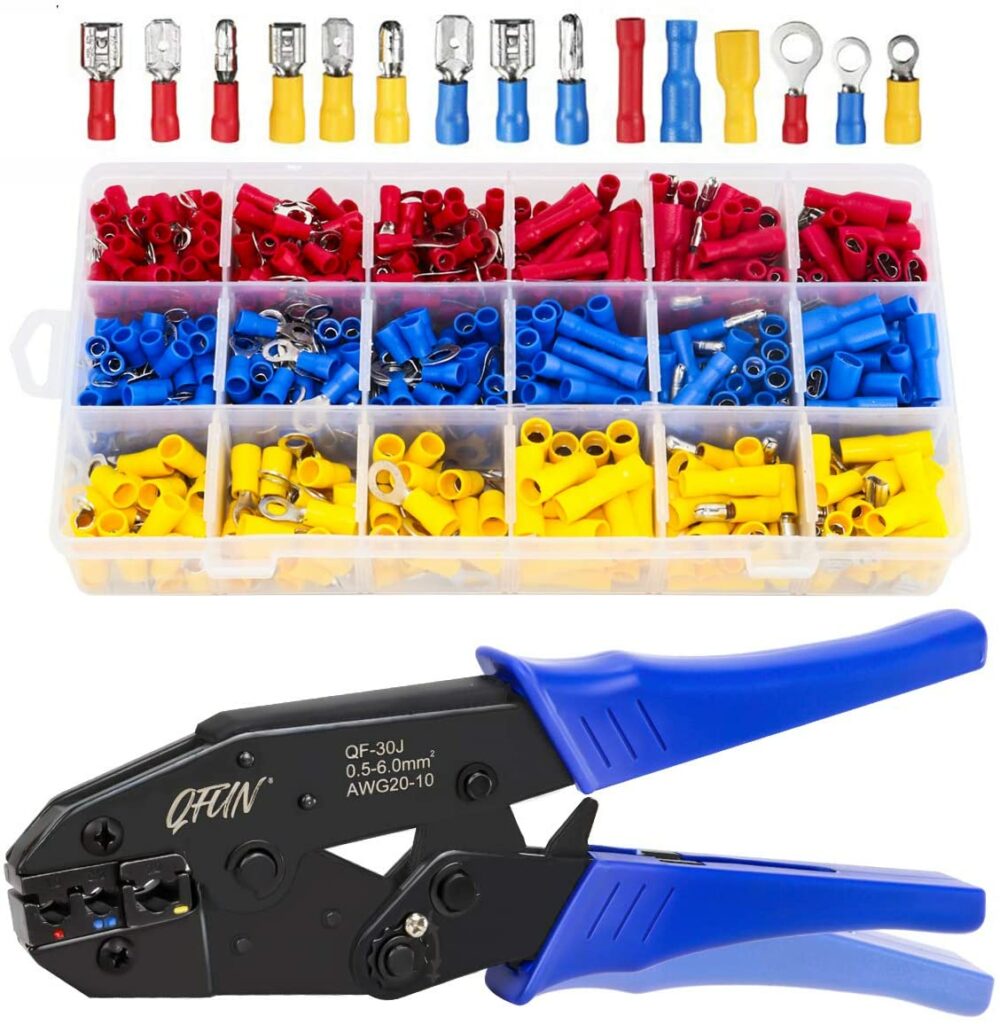
Handheld: Typically, handheld crimp tools are easily portable and are used for smaller items. They tend to resemble pliers with clamps that have a notch on one side and a ridge on the other.
Electrical: Electrical wire crimp tools tend to require less effort in the application of the necessary crimping pressure because they offer additional battery power.
Benchtop: In contrast with others, these models are quite bulky and they have higher capacity variations that are created for being mounted on workbenches for the accomplishment of demanding tasks. While some are manual, others are powered by an electric motor.
Hydraulic: These crimp tools tend to require little effort to perform tasks. Their compression power is specifically offered by their hydraulic fluid and they offer optimal power for different demanding applications and tasks.
Pneumatic: Pneumatic crimp tools are air-based and they can offer some serious force to different crimping applications. They use air pressure for various types of crimping tasks and they are available in both workbench and manual models.
Uses of Wire Crimp Tools
Normally, crimp tools come in different sizes and shapes. Moreover, they are utilized in different settings. However, all of them have one common use and that is to create a reliable and firm bond.
Engineers, mechanics, and electricians tend to make heavy use of these tools when they replace or install wires and cables. They enable the wiring heads to be fixed precisely and adequately to terminals or connectors to create an exact electrical connection.
Electrical crimps do not really use solder which tends to make them mechanically stronger. Still, they need to be gas-light to protect all the metals within circuits from corrosion. Crimp tools are also used by electricians for fixing ferrite beads to wires for controlling the current flow and preventing electromagnetic interference.
Using Wire Crimp Tool
- First of all, select the correct terminal for your work or project. In order to make your crimp tool work, you should choose the right terminal.
- From your wire, you need to strip the insulation. No need to expose more wire than the precise length of the terminal.
- Then, you need to twist the wires using your fingers. When you twist the wires, it makes them quite simpler to slip into the terminal. It helps in creating a stronger crimp.
- Once you have twisted the wires, you need to insert the terminal into the suitable nest of your tool. Once you have inserted it, you need to squeeze the crimp tool as hard as you can. Then, you need to release it to get a long-lasting and tight fuse. If you have a ratchet crimping tool, there is no need to squeeze it hard. After all, it tends to release automatically once an effective crimp has been made.
For a Coaxial Cable:
- First of all, you need to cut the coal using a wire cutter to create a square end.
- Then, you need to insert it into the stripping tool. You must apply even pressure before turning the cable carefully.
- Now, remove it from the stripping tool and peel away the wire’s outer coating from the cuts made by the tool.
- Peel back the foil to make sure that the metal mesh is revealed. Bend it back smoothly and be careful because you don’t need to touch the second layer that lies beneath the mesh.
- Once you have done the above, you need to insert the coax into the F cylindrical connector. Around the central wire, the insulation must be pressed against the connector’s front.
- Lastly, you must crimp the connection with your wire crimp tool.
No responses yet